The EXEMPTAX customer portal allows your tax-exempt customers to independently create their own customer record in EXEMPTAX, update their exposure zone(s), and dynamically generate or upload tax exemption certificates without proactive exemption certificate campaigns.
Please note the EXEMPTAX portal functionalities are separate from our e-commerce and other third party integration functionalities, which tie certificates to already generated customer records in your leading third party system.
Note: Whenever possible, we always recommend and encourage you and your customers to utilize our API or other integrated e-commerce portal functionalities, as these options are designed to reduce data inconsistencies, including duplicate customer records caused by customer data management errors.
To find out more, including enabling portal functionalities, please see below.
Step 1: From your Dashboard go to the Company Settings.
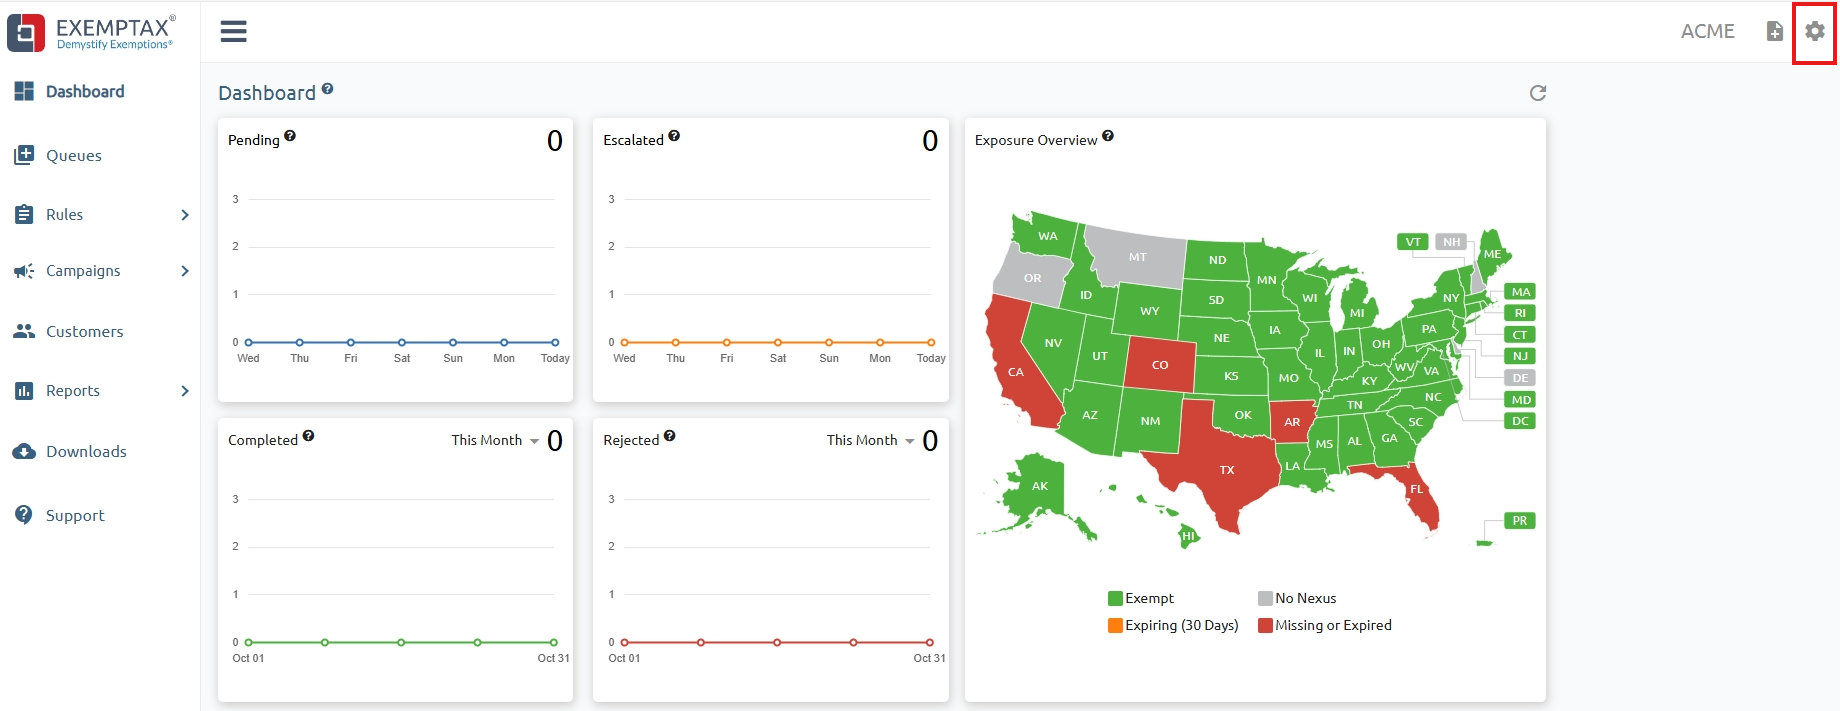
Step 2: Select Campaign Settings and click on Customer Portal

Step 3: Switch the Status under Customer Portal.

Step 4: You'll see a reminder about enabling the Customer Portal Link. Click 'Activate' to proceed.
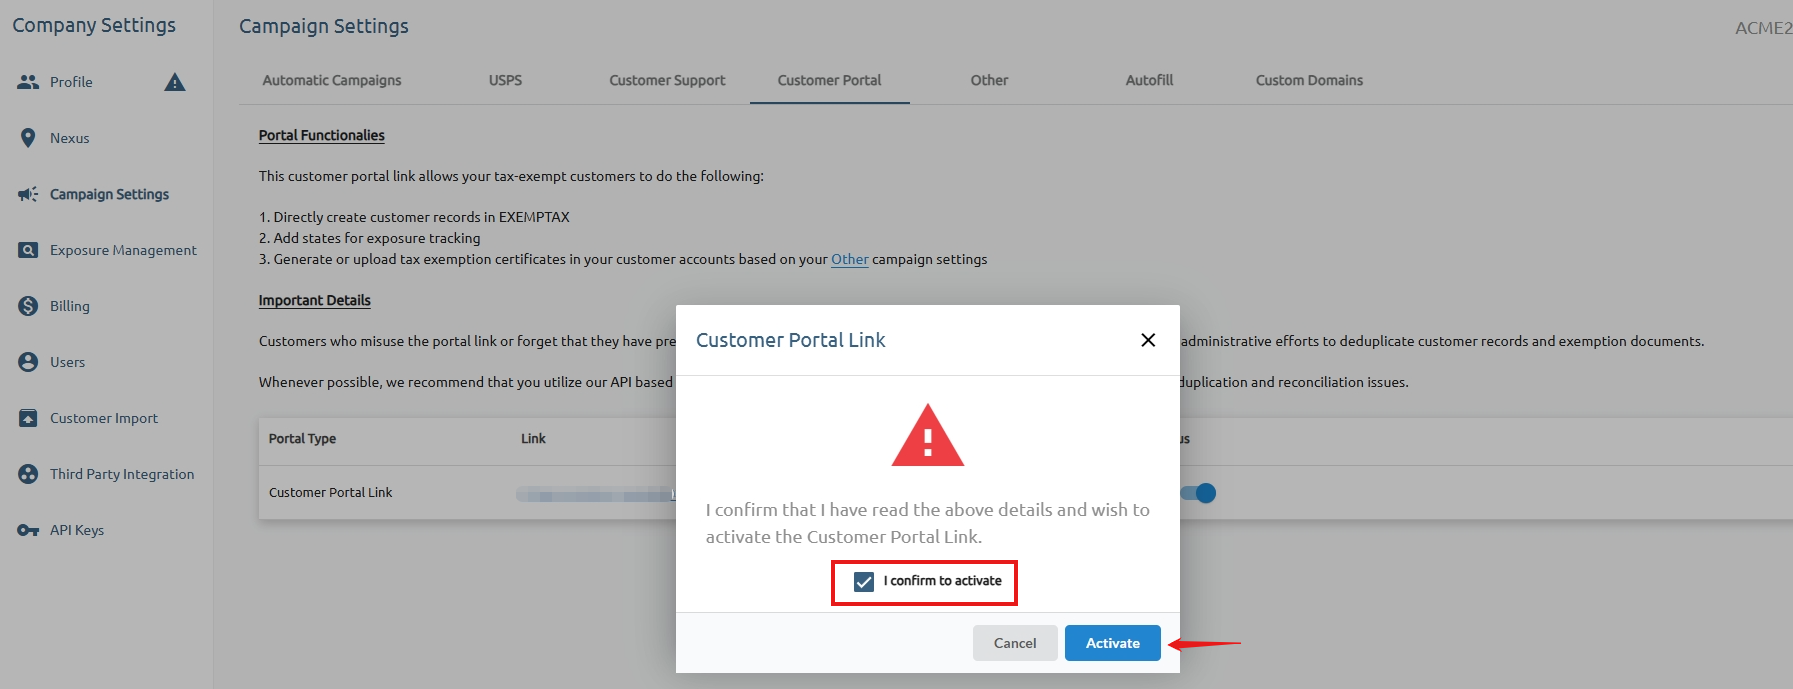
Step 5: Provide your customers with the Unique Customer Portal Link.

Step 6: First-time users of the Portal will be prompted to create a new customer record by providing essential information, such as their Company Name, Address, Contact Details, and other Tax Exemption Details.
Note: If your customer forgets that they have registered under a different email, there is a chance that they may create a duplicate account which could result in additional de-duplication efforts.

Step 7: After completing the required fields, a Verification Code will be emailed to your customer.
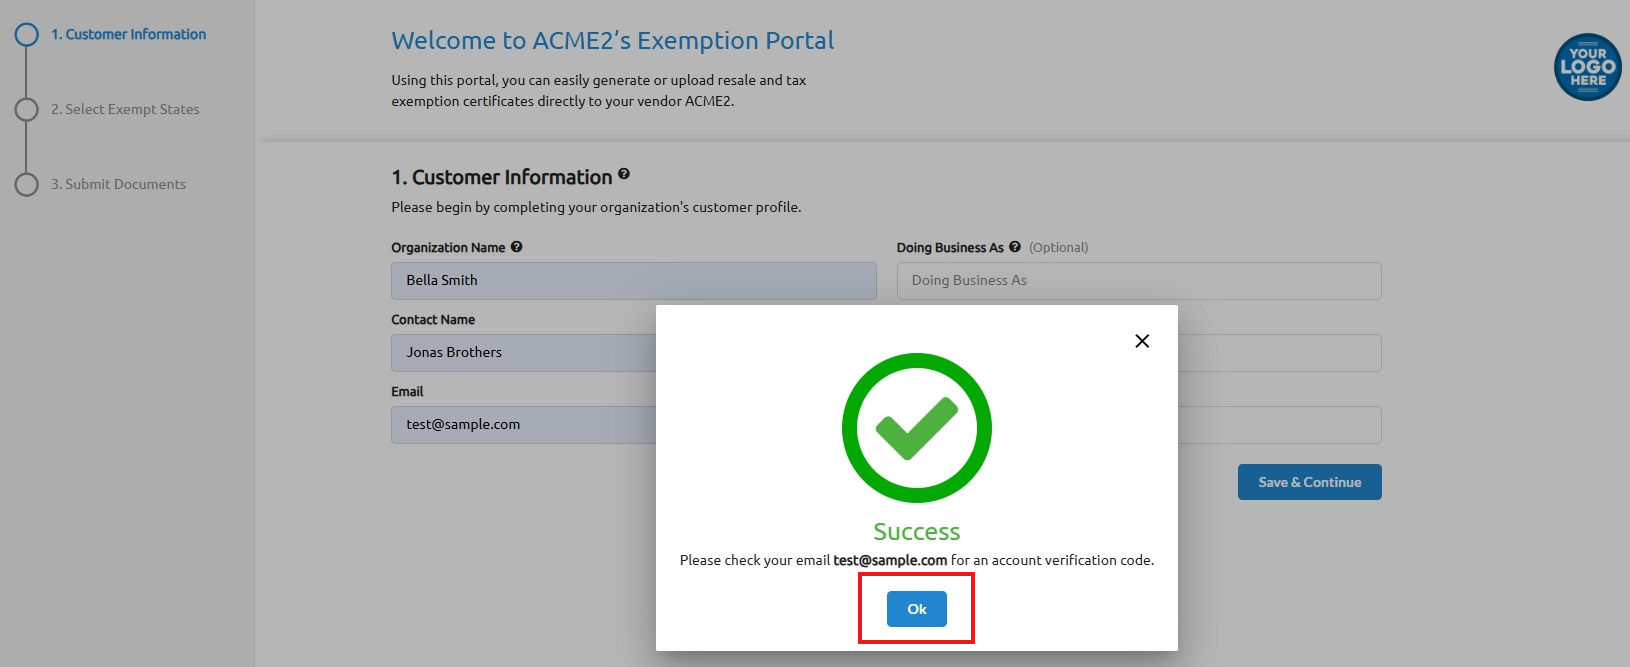
Step 8: Your customer will enter the Verification Code sent to their email.

Step 9: They will then enter their address details and click on Save & Continue.
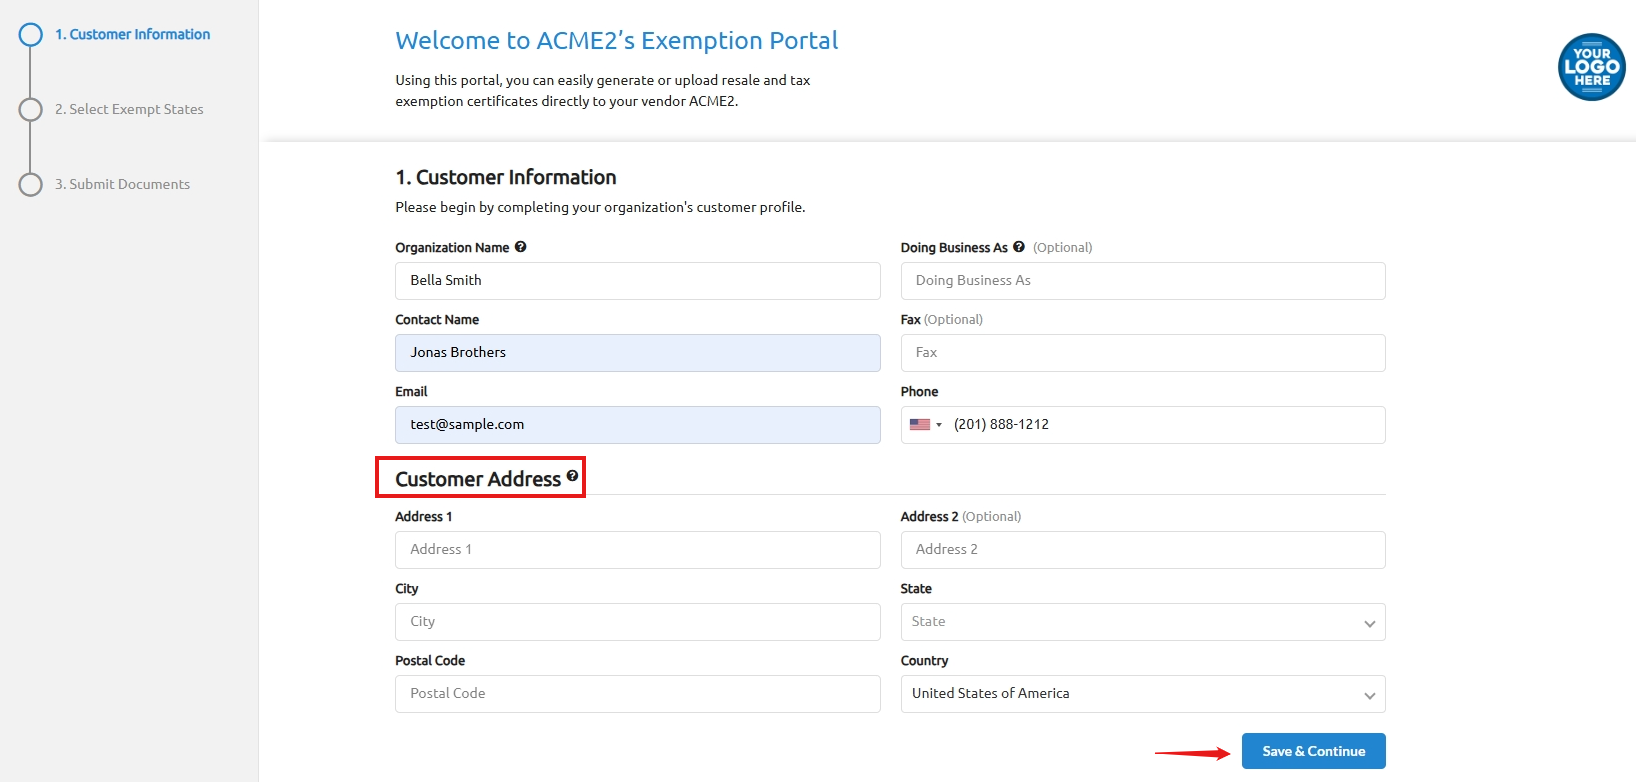
Step 10: Afterwards, they will click on "OK" to proceed.

Step 11: To ensure accurate tracking of required exemption certificates, your customers will then specify the states where they make tax-exempt purchases. This helps you monitor and manage your tax liabilities across different jurisdictions effectively. Once the customer is done, they will then click on Save & Continue.
Note: This is sample scenario where multiple random states were selected.

Step 12: Your customer will then click "Ok" to proceed.
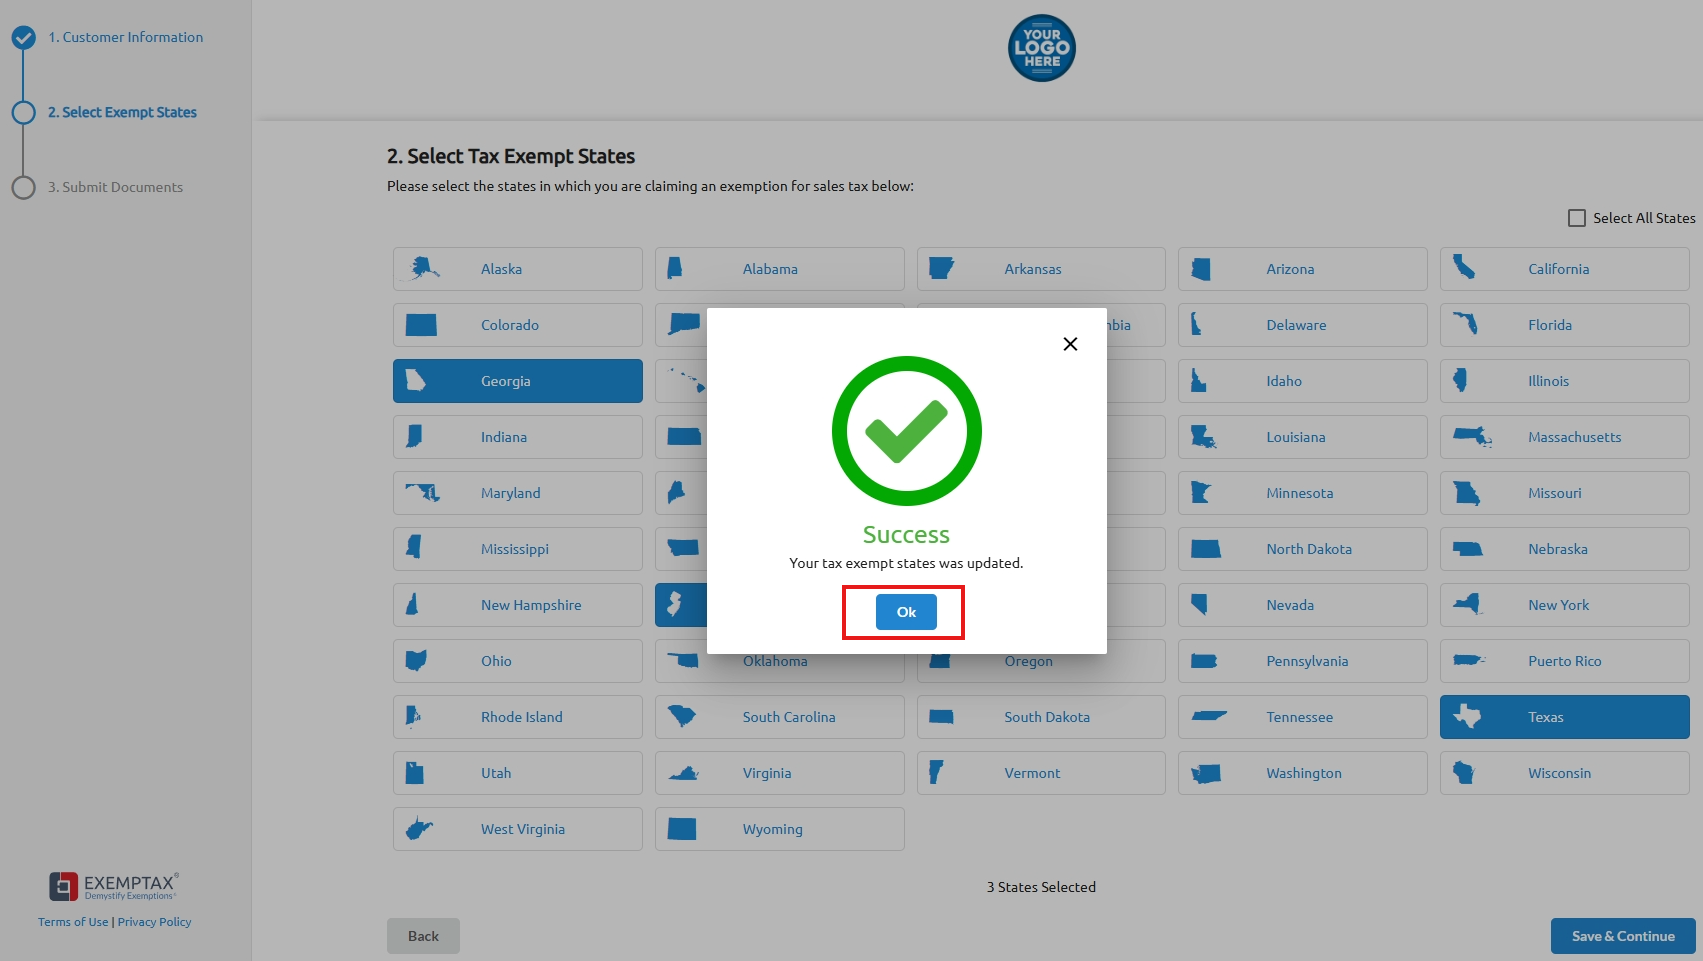
Step 13: Once your customer is done selecting their states, the portal will allow your customers to provide their tax exemption certificates by either generating new ones directly within the portal (if enabled in your "Other" campaign settings) or by uploading existing certificate files into to their account.

Step 14: For example, if your customer selects Texas (the example below contains fake sample info), they will follow the standard procedure for submitting tax-exempt certificates based on the applicable exemption reason they select.

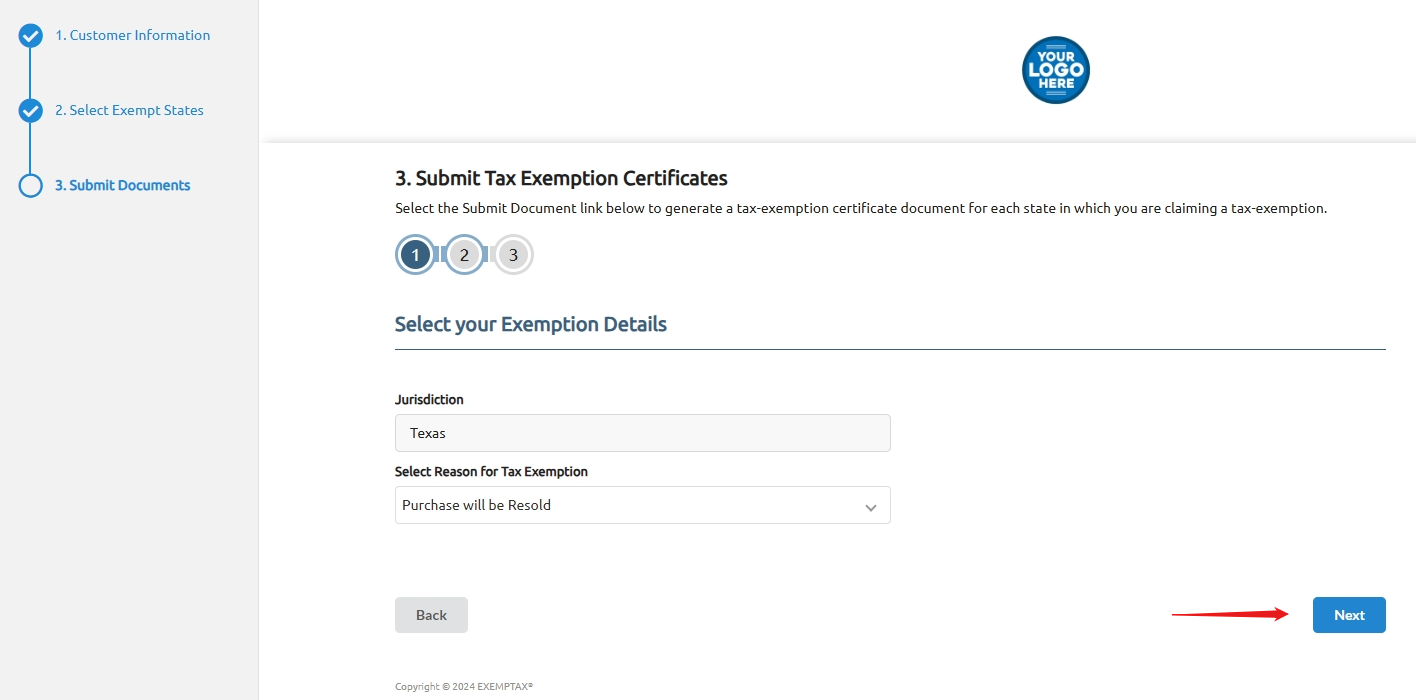


Step 15: After your customer is done submitting the document, they may go back to their Dashboard, and they'll see the following screen where they can continue filling out the remaining required tax-exemption documents at their own convenience.

